Jupyter notebooks give control and versatility to the Python inclined data analyst. And I personally like how it allows me to run the code cell by cell and provide annotations as I build. Having that control on inspecting the script as it develops is one of the powerful features of using Jupyter notebooks.
But once you are done with cell by cell control and you are now ready to set this script to run on a schedule, native Python scripts start to win and in a Windows environment, the Task Scheduler App allows you to do exactly that.
Complete the Jupyter Notebook and Enable Jupytext
- If you have not done so yet, add jupytext library in your Jupyter lab instance.
On the command line, type:
pip install jupytext
-
Restart Jupyter server if you have done step 1.
-
In the same directory containing your script of interest, if you want the python script to pair automatically you can also add a file called
jupytext.tomlthat contains the following lines:
formats = "ipynb,py:percent"
- You should see a pair in your directory now, one ipynb and one py extension.
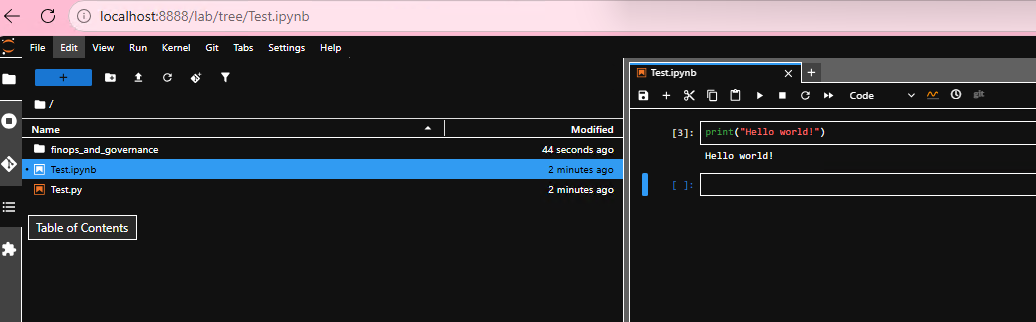
- The next step is for you to finalize your Jupyter script for scheduling. Determine first what Python folder is running your script. To do that, run this inside your working notebook:
import sys
print(sys.executable)
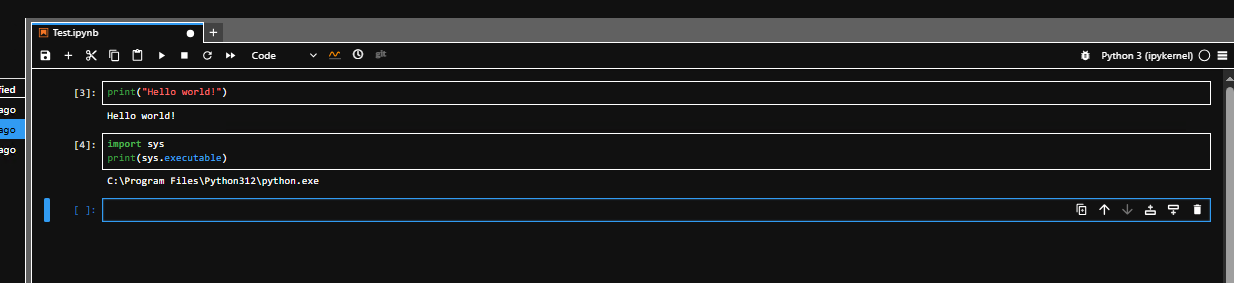
Make note of the output since that executable location allows your script to run even without Jupyter Lab instance running or you logged in on the Windows Server machine.
Create the Scheduled Task
- Click Windows button and then type “Task Scheduler.” You will see something like this.
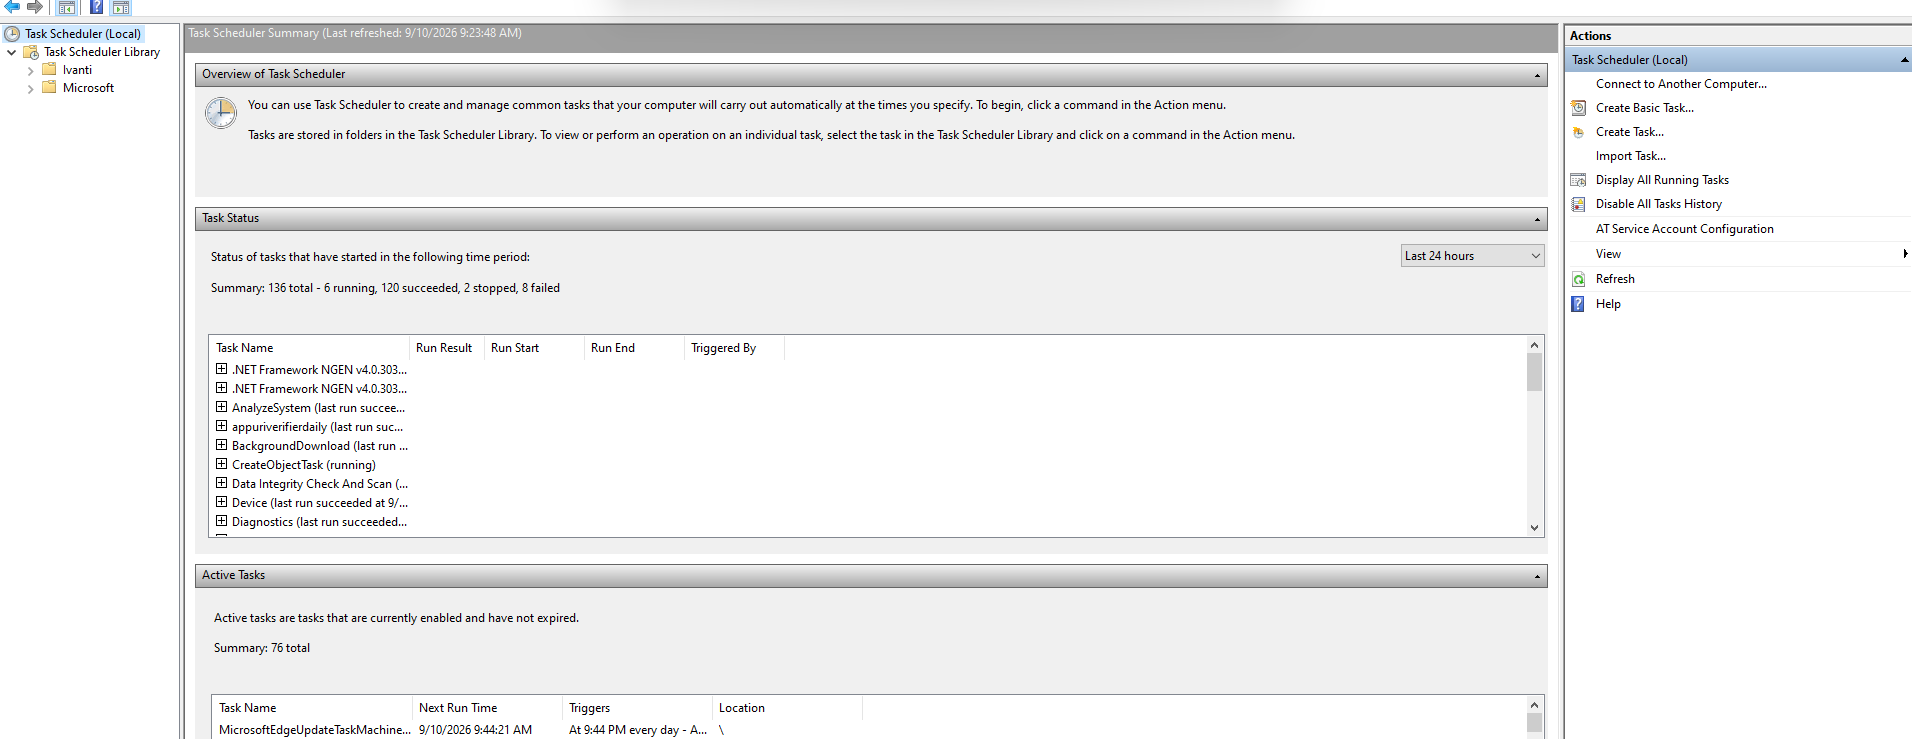
Click Task Scheduler Library on the left sidebar to show you all the existing scripts or tasks running in your Windows server.
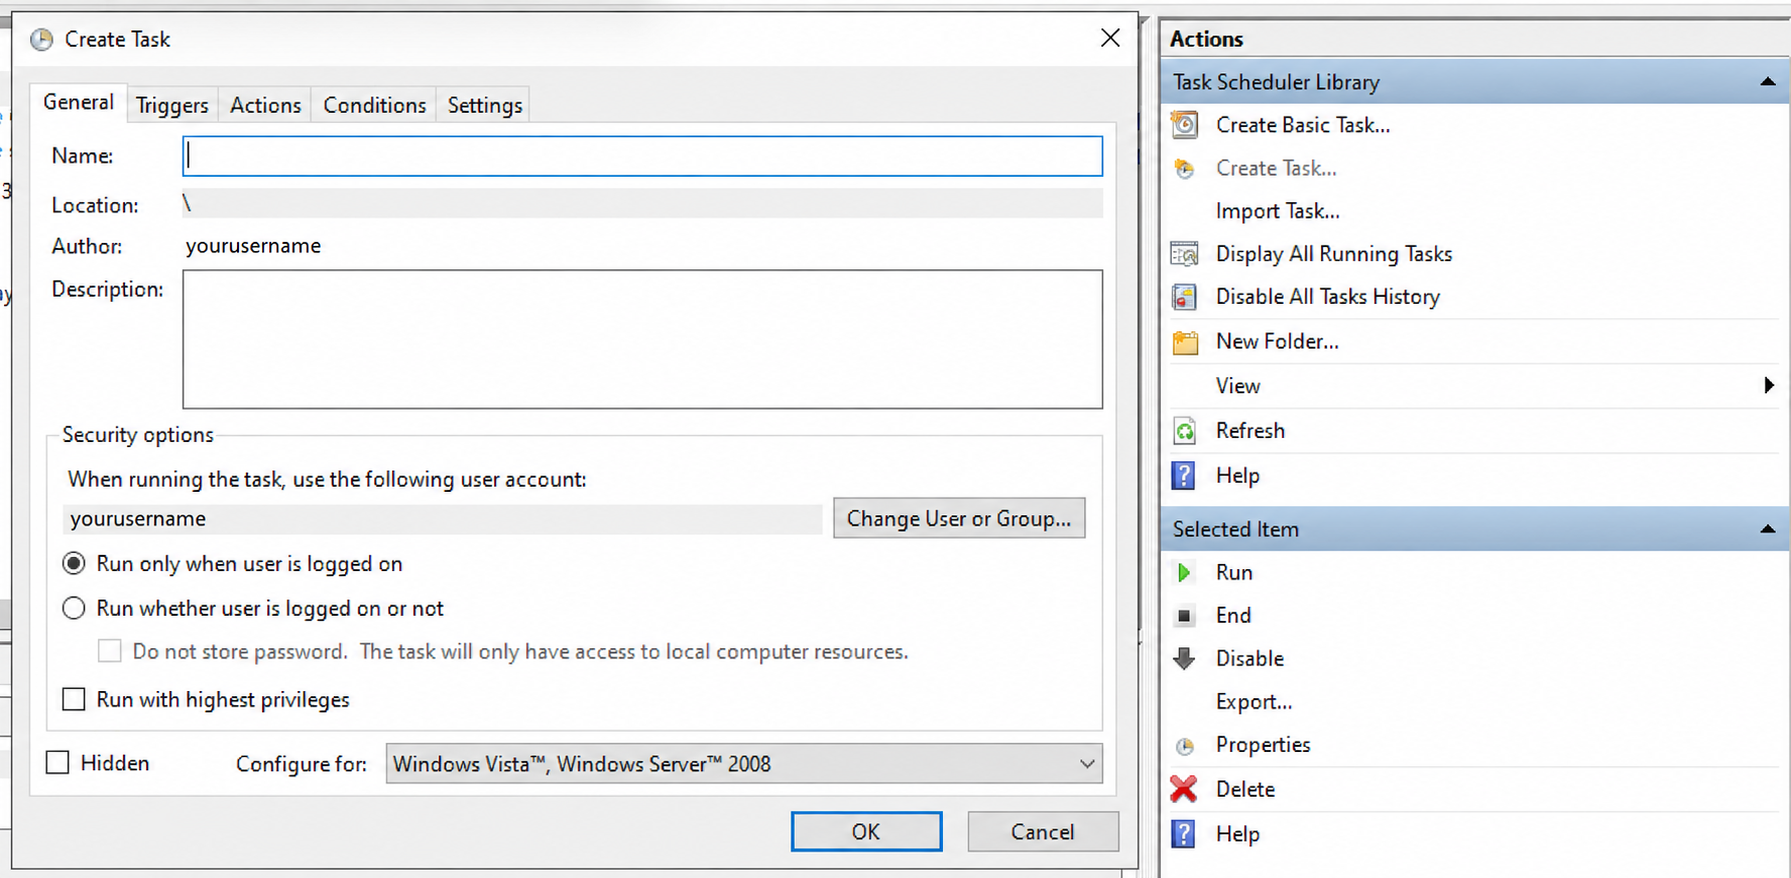
- On the right side there is a side bar where you can click “Create Task” where you will encode a distinguishable task name for your script and then also make sure your username is authorized the script on the server.
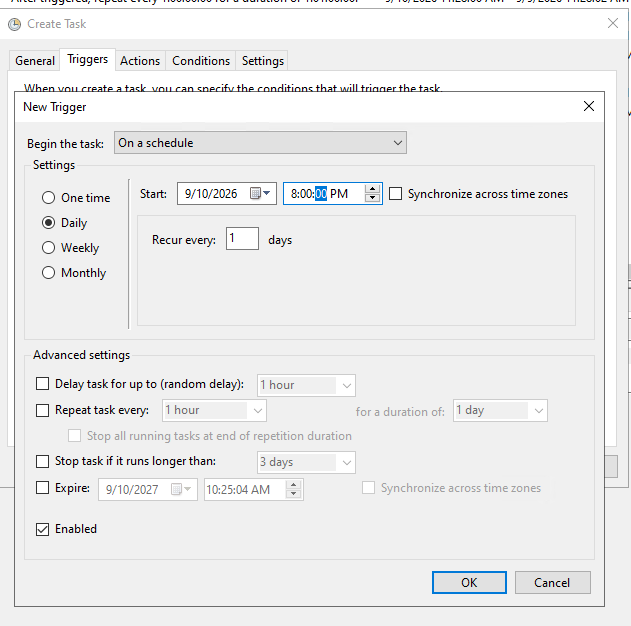
- Click the Trigger tab and you will find options for how often you want the script to run. In our example, I will set it to run on a schedule daily.
- In the Action tab, click New and choose Start a program then paste the path you got from step 5. In my example it’s
C:\Program Files\Python312\python.exe
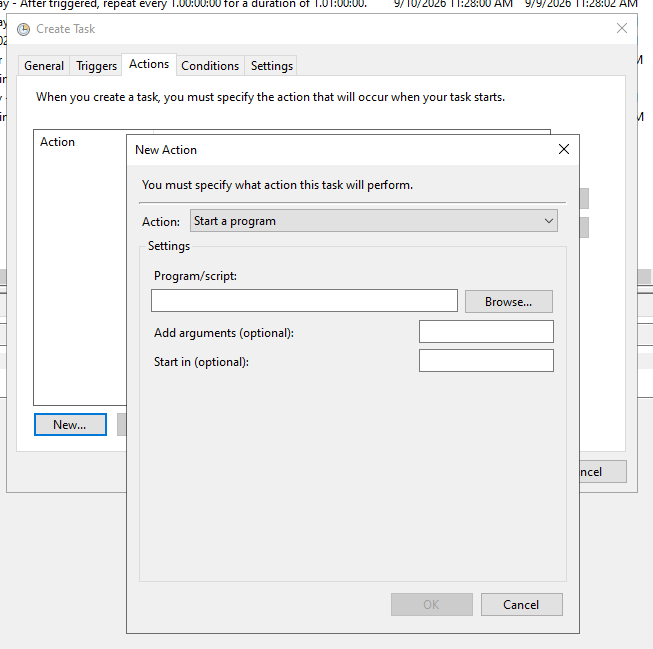
- Still in the same window in the New Action where you pasted the path from Step 5, add the argument to locate your script of interest.
This is the argument:
-u "C:\YOUR_FULL_PATH\test.py"
Edit YOUR_FULL_PATH with your actual path and test.py with your actual python script.
-
Task Schedule will generate a popup to confirm the details you inputted. Check the file paths if correct.
-
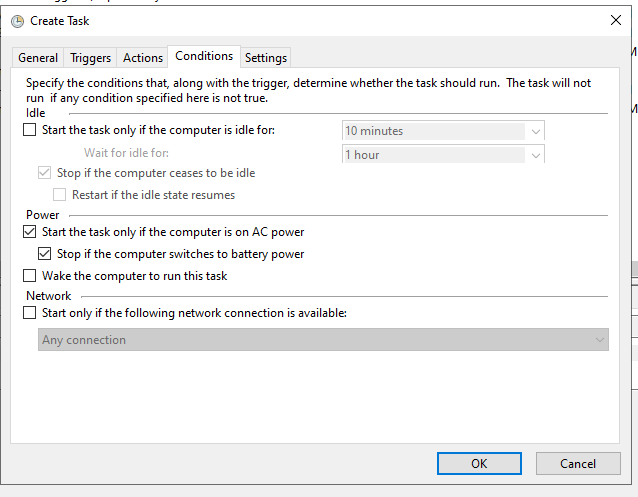
You can also conditions and other preferences in Conditions and Settings tab.
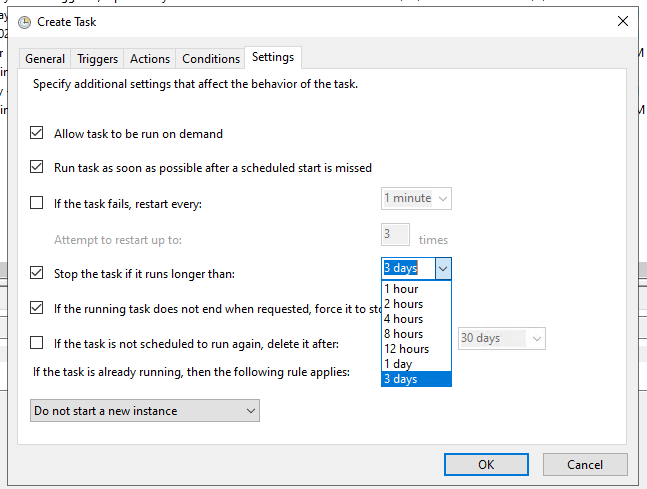
-
Once you click OK on this dialog window, the system will prompt for a password or authorization. Enter your password accordingly.
-
The Task Scheduler Library should now have the new script in its list.
Test the Scheduled Task
-
Select your new task on the library list on the center and then go to the right sidebar to click Run (with green play icon).
-
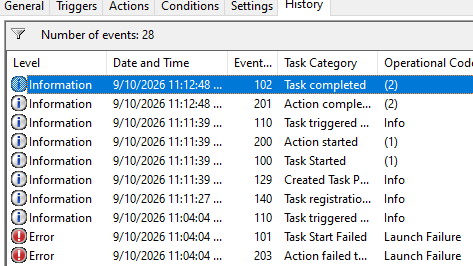
The bottom History tab will indicate if the script ran successfully. If you encountered errors, it will also be the first place where you will look for log trace to help you troubleshoot why your script did not run.
The task status summary will also be on top of the window of the Task Scheduler Library. It will show you Triggers, Next Run Tim, Last Run Time, and Last Run Result.

- The event details pane in the middle will also show if the Task has been completed.